Welcome to Trezor – Start Your Secure Cryptocurrency Journey
Trezor is a trusted name in cryptocurrency security and hardware wallets, providing users with the tools to manage digital assets safely and confidently. Whether you are a beginner just exploring cryptocurrencies or an experienced trader looking for secure self-custody, Trezor empowers you to take control of your digital wealth.
Starting your journey with Trezor means embracing security, privacy, and ownership. Unlike online wallets or exchanges, Trezor ensures that your private keys remain offline, reducing the risk of hacks, phishing, and malware attacks. By pairing a Trezor hardware wallet with Trezor Suite or compatible apps, you can securely store, send, receive, and monitor your cryptocurrencies.
This guide will walk you through the entire process of getting started with Trezor, from unboxing your device to understanding advanced features and best security practices.
Why Start with Trezor?
Cryptocurrencies offer immense opportunities for growth, investment, and innovation, but they also come with responsibilities. Unlike traditional banking systems, there is no central authority to recover lost or stolen funds. This makes security and self-custody critical.
Trezor allows you to:
Keep your private keys offline and secure
Protect your assets from phishing, malware, and hacks
Maintain full control over your cryptocurrencies
Access your portfolio securely from any location
By starting with Trezor, you take ownership of your digital assets, ensuring that only you can authorize transactions and manage your funds.
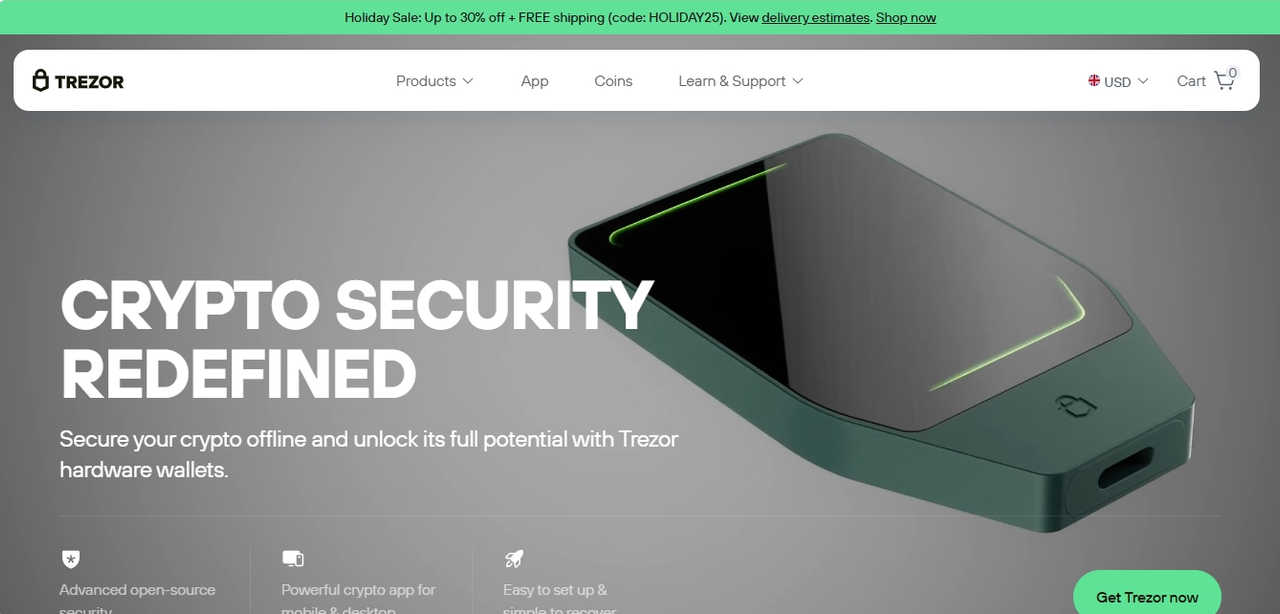
What Is a Trezor Hardware Wallet?
A Trezor hardware wallet is a small, portable device that securely stores your private keys offline. Unlike software wallets, Trezor keeps your keys away from internet-connected devices, making them far less vulnerable to hacking or unauthorized access.
When you use a Trezor wallet:
Your private keys never leave the device
All transactions must be physically confirmed on the device
Your funds remain safe even if your computer or smartphone is compromised
Trezor wallets combine advanced security features with an intuitive user interface, making them suitable for both beginners and advanced users.
Trezor Wallet Models
Trezor offers multiple hardware wallet models to meet different user needs:
Trezor One: The original, reliable, and secure model, ideal for beginners or users who want simplicity and security.
Trezor Model T: Advanced hardware wallet with a touchscreen, support for more cryptocurrencies, and additional features such as Shamir Backup.
Both models provide state-of-the-art security, while the Model T offers more flexibility for users who want enhanced features and convenience.
Getting Started with Trezor
Getting started with Trezor is straightforward. Trezor guides users through a step-by-step process to ensure secure setup and self-custody education.
Step 1: Unbox and Inspect Your Device
When you receive your Trezor wallet, ensure the packaging is intact and the security seal is unbroken. Only purchase Trezor devices from official sources to avoid tampered or counterfeit products.
Step 2: Connect Your Trezor
Connect your Trezor device to your computer or mobile device using the provided USB cable. For mobile devices, some Trezor models support USB-C or OTG connections.
Step 3: Initialize Your Wallet
Open the official Trezor website or Trezor Suite application
Choose “Create a New Wallet”
Set a personal PIN code to protect access to the device
The PIN adds an essential layer of security, ensuring that even if your device is lost, unauthorized users cannot access your funds.
Step 4: Generate Your Recovery Phrase
During setup, Trezor generates a 24-word recovery phrase. This phrase is the only backup for restoring access if your device is lost, stolen, or damaged.
Store your recovery phrase offline
Do not take digital photos of it
Do not share it with anyone
Your recovery phrase is your lifeline; without it, lost funds cannot be recovered.
Step 5: Install Trezor Suite
Trezor Suite is the companion software for managing your cryptocurrency portfolio. Download the official Trezor Suite from the Trezor website to send, receive, and track assets securely.
Step 6: Add Cryptocurrencies
Trezor supports hundreds of cryptocurrencies, including Bitcoin, Ethereum, Litecoin, Bitcoin Cash, ERC-20 tokens, and more. Use Trezor Suite to add accounts for each asset you want to manage.
Step 7: Start Managing Your Assets
Once your device is set up and accounts are added, you can securely send, receive, and monitor cryptocurrencies. Every transaction requires confirmation on the Trezor device, ensuring that private keys never leave the hardware wallet.
Understanding Trezor Suite
Trezor Suite is a secure desktop and web application that provides an intuitive interface to manage your portfolio. Key functions include:
Portfolio Overview: View all your cryptocurrencies, balances, and transaction history in one place
Secure Transactions: Send and receive assets safely, with every transaction confirmed on your device
Staking Support: Stake supported assets to earn rewards without compromising security
Device Management: Update firmware, install apps, and configure security settings
Third-Party Integrations: Connect with compatible exchanges, wallets, and decentralized finance (DeFi) platforms
Trezor Suite makes cryptocurrency management simple while maintaining hardware-level security.
Security Features of Trezor
Trezor is built with security as a top priority. Key security features include:
Offline Storage of Private Keys: Keys remain on the hardware device, reducing exposure to online threats
PIN Protection: Prevents unauthorized access
Physical Transaction Confirmation: Every action requires manual approval on the device
Encrypted Communication: All data sent between Trezor Suite and your device is encrypted
Recovery Phrase Backup: Your 24-word phrase is your only way to restore access if the device is lost or damaged
These features create multiple layers of protection, ensuring that your funds remain safe even in risky online environments.
Supported Cryptocurrencies and Assets
Trezor supports an extensive list of cryptocurrencies, including:
Bitcoin (BTC)
Ethereum (ETH) and ERC-20 tokens
Litecoin (LTC), Bitcoin Cash (BCH), Dash (DASH)
Staking-supported assets for rewards
NFTs and digital collectibles
This wide support allows users to manage a diverse portfolio securely from a single device.
Why Self-Custody Matters
Self-custody means you alone control your private keys. Unlike exchanges, where funds are held in third-party accounts, Trezor allows you to:
Retain full ownership of your digital assets
Approve every transaction personally
Reduce exposure to hacks or exchange failures
Access your funds anytime, anywhere
Trezor makes self-custody practical and secure for beginners and advanced users alike.
Best Practices for Trezor Users
Even with Trezor’s strong security, users should follow best practices:
Always buy devices from official sources
Keep your recovery phrase offline and secure
Verify all transaction details on your device
Regularly update firmware and Trezor Suite
Enable optional passphrase protection for additional security
Avoid sharing your PIN or recovery phrase with anyone
These simple habits greatly reduce the risk of losing funds or falling victim to scams.
Advanced Features for Experienced Users
Trezor is not just for beginners. Advanced users can leverage features such as:
Third-Party Integrations: Connect with DeFi platforms while keeping keys secure
Multi-Device Support: Set up backup devices for uninterrupted access
Detailed Transaction Analytics: Track portfolio performance over time
Custom Tokens and Networks: Add support for emerging cryptocurrencies
These features make Trezor suitable for both simple storage and sophisticated portfolio management.
Staking and Earning Rewards
Trezor allows staking for supported cryptocurrencies. Staking enables you to earn passive rewards while keeping full control of your assets. All staking transactions are confirmed on your device, maintaining the security of your private keys.
Getting Started Today
Starting your cryptocurrency journey with Trezor is straightforward:
Purchase a Trezor device from the official website
Connect and initialize your wallet
Securely store your recovery phrase offline
Install Trezor Suite and add cryptocurrency accounts
Begin sending, receiving, and managing assets with confidence
Explore staking, third-party integrations, and advanced features
By following these steps, you can take full control of your cryptocurrency portfolio while maintaining maximum security.
Take Control of Your Digital Future
Trezor is more than a hardware wallet—it is a gateway to secure, self-custodied cryptocurrency ownership. By combining hardware-level protection with intuitive software and educational resources, Trezor empowers users to manage their digital assets safely, whether for long-term storage or active trading.
Starting with Trezor gives you:
Security you can trust
Full ownership of your assets
Access to advanced portfolio management tools
Peace of mind in the digital financial world
Take the first step in your cryptocurrency journey with Trezor today and experience the freedom of self-custody.