Welcome to Trezor.io/start
Trezor.io/start is the official starting point for anyone looking to set up and use their Trezor hardware wallet safely. Whether you are new to cryptocurrency or a seasoned investor, this guide provides everything you need to securely initialize your device, manage multiple cryptocurrencies, and navigate the digital asset ecosystem with confidence.
Trezor hardware wallets are designed to keep your private keys offline, giving you true self-custody over your assets. By following the steps in this guide, you ensure that your wallet is secure, your recovery seed is safe, and your crypto funds are fully protected.
Why Trezor Hardware Wallets Are Essential
Security is the foundation of cryptocurrency management. Unlike software wallets, which can be vulnerable to malware, phishing, and hacking, Trezor hardware wallets store your private keys offline. This means that even if your computer is compromised, your funds remain safe.
Key advantages of Trezor hardware wallets include:
True self-custody: You are the sole owner of your private keys and digital assets.
Offline security: Protects your crypto from online threats and malware.
Secure transaction verification: Every transaction is confirmed physically on your device.
Support for multiple cryptocurrencies: Manage Bitcoin, Ethereum, and hundreds of other digital assets in one interface.
By using a Trezor wallet, you retain full control over your digital wealth while minimizing the risks associated with online storage.
Preparing to Get Started
Before beginning the setup process, ensure you have the following:
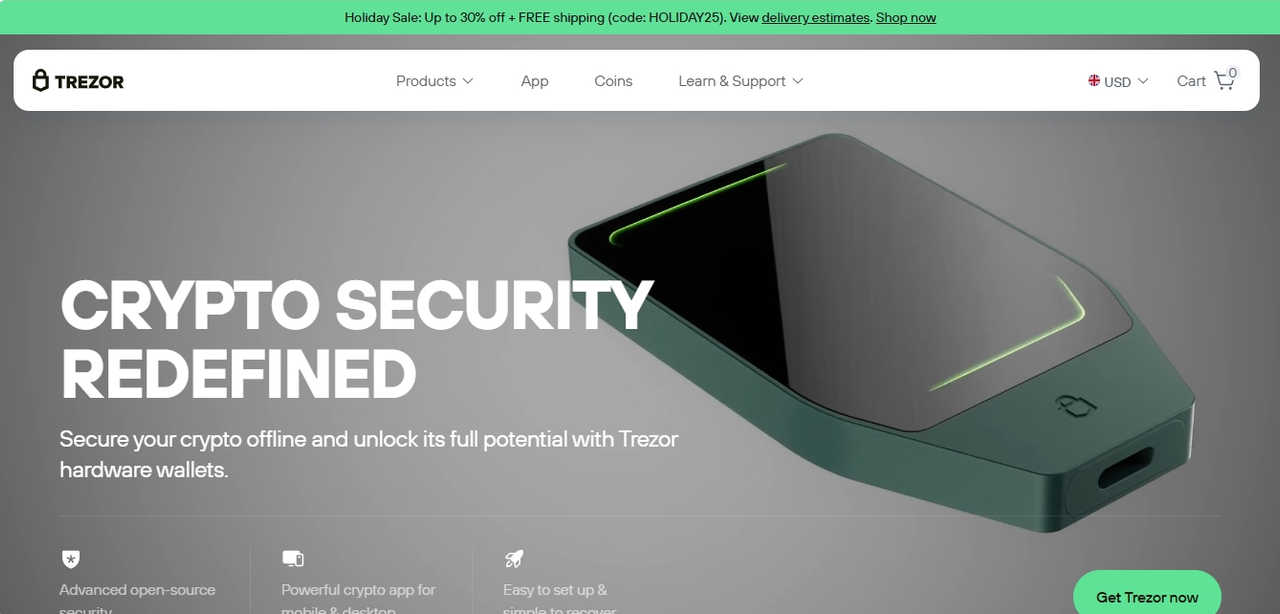
Your Trezor hardware wallet (Trezor One or Trezor Model T)
A computer or smartphone with a reliable internet connection
The official Trezor Suite software installed
A private, distraction-free environment for setup
Security tip: Avoid using public Wi-Fi or shared computers during setup to prevent unauthorized access or phishing attacks.
Step 1: Download and Install Trezor Suite
Trezor Suite is the official companion app for your Trezor device. It allows you to manage your accounts, send and receive crypto, track balances, and perform secure device updates.
Visit https://suite.trezor.io to download the latest version of Trezor Suite.
Install the software on your computer or smartphone.
Important: Only download Trezor Suite from the official website. Third-party downloads or links from emails and social media may be phishing attempts.
Once installed, launch Trezor Suite and connect your device to get started.
Step 2: Connect Your Trezor Device
Connect your Trezor hardware wallet to your computer or mobile device using the supplied USB cable. For the Trezor Model T, use the USB-C connection.
When you connect your device:
Trezor Suite will recognize it automatically.
The device will perform a security check to ensure it is genuine and has not been tampered with.
Follow on-screen instructions to begin setup.
This verification ensures that your hardware wallet is authentic, a critical step in securing your funds.
Step 3: Initialize Your Wallet
Trezor Suite will guide you through initializing your wallet. You can choose to:
Create a new wallet: Generates a new recovery seed and PIN code.
Recover an existing wallet: Enter your existing recovery seed to restore access.
During initialization, you will:
Set a PIN code: Protects your device from unauthorized access.
Generate a recovery seed: A master backup of your wallet.
Optionally, add a passphrase for extra security.
Step 4: Secure Your Recovery Seed
Your recovery seed is the single most important element of your wallet’s security. It is a list of 12, 18, or 24 words generated by your Trezor device that allows you to restore your wallet in case of loss, theft, or damage.
Critical recovery seed security rules:
Write down your seed on the provided card.
Keep it offline in a secure location, such as a safe.
Never photograph or digitally store your seed.
Never share your seed with anyone—Trezor staff will never ask for it.
Treat your recovery seed like a master key: without it, there is no way to recover your wallet.
Step 5: Add an Optional Passphrase
Trezor allows you to add a passphrase to your wallet, creating a hidden wallet for additional security.
The passphrase must be entered each time you unlock your device.
Even if someone obtains your recovery seed, they cannot access a wallet protected by a passphrase.
This feature is optional but recommended for users who want an extra layer of protection.
Passphrases are particularly useful for storing significant amounts of cryptocurrency or for added privacy.
Step 6: Verify Your Device and Recovery Seed
After recording your recovery seed, your Trezor device will ask you to confirm the words in the correct order. This ensures that you have written down your seed correctly.
Trezor Suite will also perform a device authenticity check to ensure your hardware has not been tampered with. Always complete this verification before proceeding.
Step 7: Add Cryptocurrency Accounts
Once your device is set up, you can add cryptocurrency accounts via Trezor Suite:
Supported cryptocurrencies include Bitcoin, Ethereum, and hundreds of altcoins.
You can add multiple accounts to manage different assets efficiently.
Organize accounts by purpose (e.g., trading, savings, staking).
Trezor Suite provides a unified dashboard for all accounts, giving you an overview of your portfolio and balances.
Step 8: Sending and Receiving Crypto
Trezor Suite simplifies sending and receiving cryptocurrencies while maintaining security:
Send crypto: Enter the recipient’s address, specify the amount, and confirm the transaction on your Trezor device.
Receive crypto: Generate an address for incoming transactions and verify it on the device.
Every transaction must be confirmed on your hardware wallet, ensuring that private keys remain offline and protected from malware or phishing.
Step 9: Monitoring Your Portfolio
Trezor Suite offers tools to track and manage your cryptocurrency portfolio:
View total portfolio value in your preferred fiat currency.
Monitor asset distribution across accounts.
Review historical transactions and analyze trends.
Track transaction confirmations and network fees.
This functionality helps you make informed decisions and keep your investments organized.
Step 10: Keeping Your Device Secure
Regular maintenance and security checks are crucial for protecting your wallet:
Firmware updates: Ensure your device has the latest security patches.
Device authenticity checks: Confirm that your hardware is genuine.
Secure app management: Install or remove cryptocurrency apps safely.
Confirm all transactions: Never approve transactions only on your computer screen.
Following these steps maintains the integrity of your wallet and protects your assets from threats.
Security Best Practices
Even with Trezor’s robust security features, users must adopt best practices to protect their funds:
Only download Trezor Suite from official sources.
Keep your recovery seed offline and never share it.
Protect your PIN and passphrase carefully.
Confirm all transactions on your device.
Beware of phishing attempts through email or social media.
These practices ensure that your wallet remains secure, even if your computer is compromised.
Troubleshooting and Support
If you encounter issues:
Use the official Trezor support page for FAQs, guides, and troubleshooting tips.
Check that your device firmware and Trezor Suite are up to date.
Contact Trezor support directly through official channels only.
Avoid third-party support services, which may be fraudulent or attempt to steal your credentials.
Why Security Matters
Your Trezor wallet is only as secure as the steps you take to protect it. Trezor combines offline hardware security with optional passphrases and PIN codes to ensure that:
Private keys never leave your device.
Transactions are verified physically.
Funds remain under your control at all times.
Self-custody means you, not an exchange or third party, control your cryptocurrency. This approach provides maximum security and privacy.
Start Your Crypto Journey with Confidence
Trezor.io/start is your gateway to secure, convenient, and fully controlled cryptocurrency management. By following these steps, you can:
Set up a new wallet or restore an existing one securely.
Protect your assets with a PIN, passphrase, and recovery seed.
Manage multiple accounts and cryptocurrencies through Trezor Suite.
Send, receive, and track transactions with confidence.
Take your time, prioritize security, and verify every transaction. With Trezor, your crypto assets remain safe and fully under your control.
Your journey into the world of cryptocurrency starts securely at Trezor.io/start—where self-custody, privacy, and peace of mind meet.